Fallen in love with the perfect Decorative Privacy Film for your home or office but still aren’t sure about the installation process?
Follow the links below to learn just how easy it is to install yourself, or find a professional to handle it for you.
Install Tips + Tricks from our Master Installer
- The plastic sleeve that your film is shipped in can be used for several other purposes! You can lift up one of the end caps, push some of the bag down into the gap, then slide the cap back down. This will make your roll snug against the box so it does not shift from side to side as you cut or pull the film out of the box.
- You can also press some of the plastic down the back between the roll of film and the box. This will act as a “brake” to help slow the film from coming out of the box too quickly if you are cutting multiple pieces. Lastly, the bag can be used to dispose of the removable liner, as well as the film scraps from trimming the film to size!
- To avoid scratching your film when using a metal straightedge or ruler to make any final cuts on the glass, spray some of your soapy water onto the outside of the film first. This will help hold the ruler in place, as well as reduce the chances of scratching the surface of the film with the ruler.
- If you have a larger project consider using Blue Max Squeegee rubber for all of our film products. They will provide you just the right amount of pressure, both pulling and pushing, as well as 4 usable edges you can flip around as the edge becomes worn. Less replacements needed! (replacement squeegee blades are available on our website as well)
Still not sure about DIY Installation?
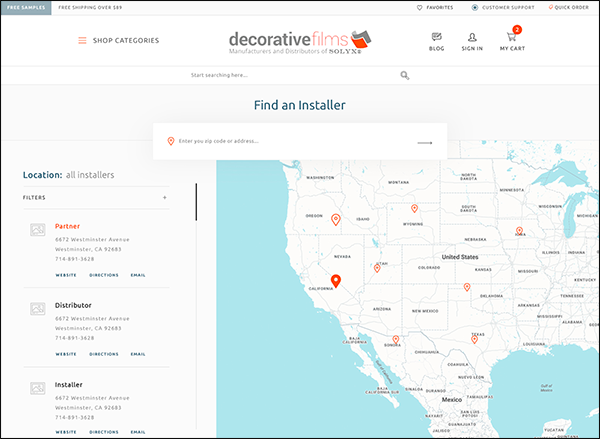
That’s OK! We have qualified installers in your area that can professionally install our products.
If you’ve fallen in love with one our Decorative Films for your home or office but still aren’t sure about the installation process, please click to find a professional installer to handle it for you.


